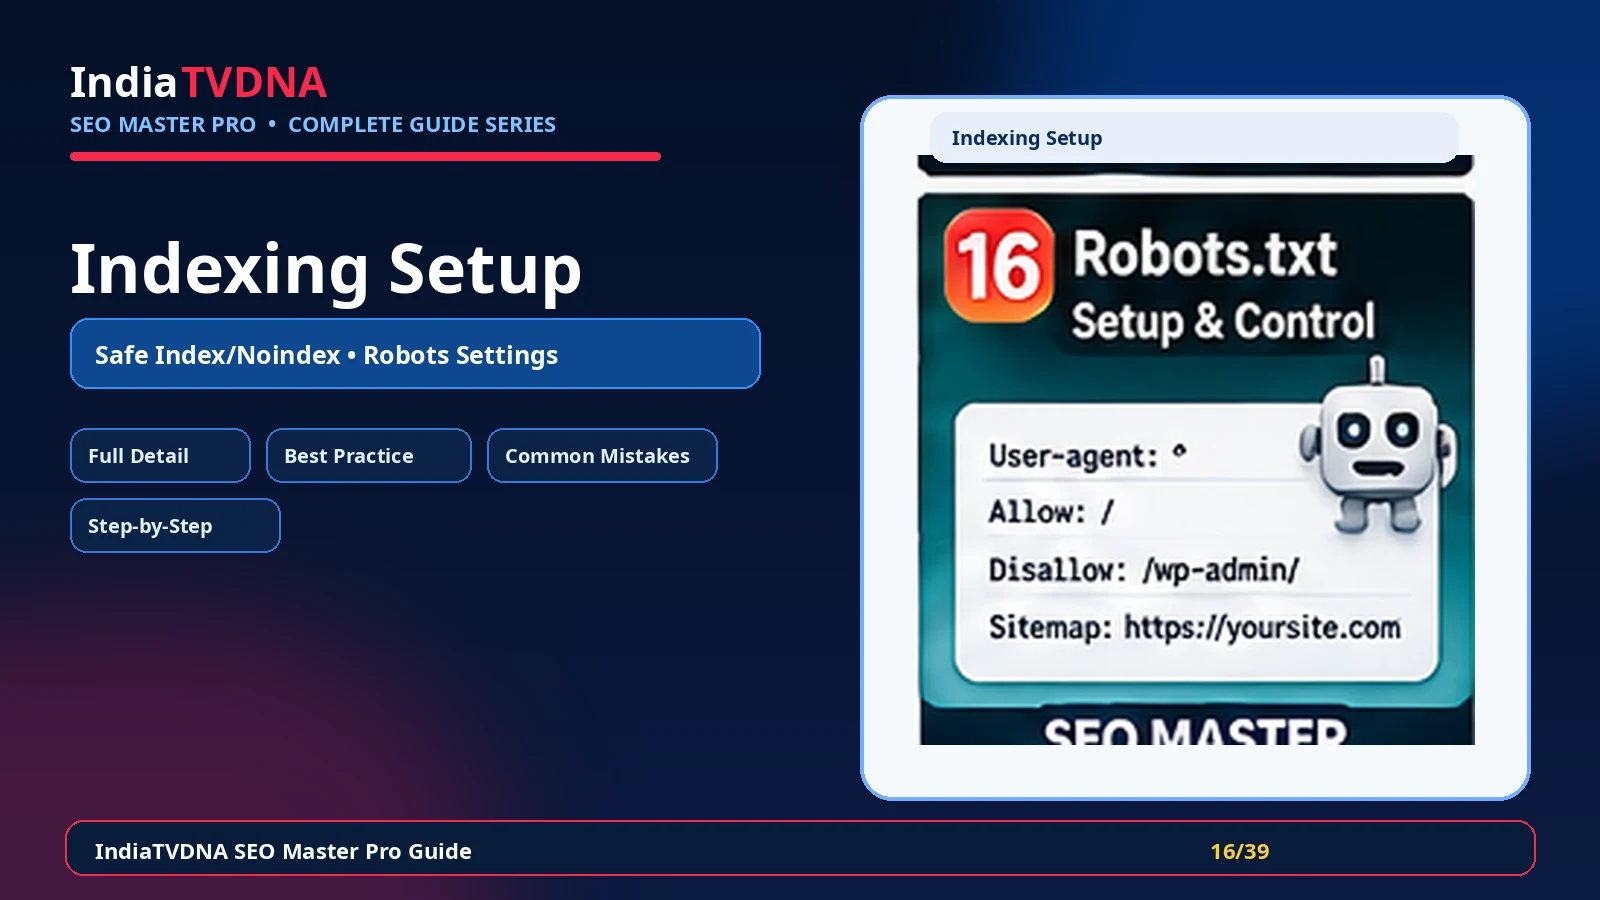
Robots / Indexing Controls को SEO Master Pro में safely configure करने की step-by-step Hindi guide: pre-check, recommended settings, verification, common mistakes और troubleshooting।
यह practical guide Robots / Indexing Controls को बिना unnecessary risk के configure करने के लिए बनाई गई है। पहले current output note करें, फिर settings बदलें और हर important step के बाद test करें।
हर WordPress URL search results में होना जरूरी नहीं। Thin archives, internal search pages, account/cart pages या staging content को अलग strategy चाहिए, जबकि important content indexable रहना चाहिए।
1. शुरू करने से पहले pre-check
Major SEO setting बदलने से पहले backup, current plugin conflicts और existing output note करें।
- Recent backup रखें
- एक primary SEO plugin/output provider रखें
- Homepage + एक post/page का source save करें
- Caching/CDN purge access ready रखें
2. SEO Master Pro में Robots / Indexing Controls module खोलें
WordPress admin में SEO Master Pro के संबंधित Robots / Indexing Controls section में जाएँ। Current status/defaults पहले पढ़ें; existing custom values को overwrite करने से पहले उनका purpose समझें।
- meta robots index/noindex
- follow/nofollow directives
- robots.txt crawl rules
- archive/search page visibility
- post type/taxonomy defaults
- staging और private content safeguards
3. Core setup step-by-step
पहले basic/safe values configure करें और save करें।
- WordPress Reading setting verify करें
- Important post types indexable रखें
- Search/internal utility pages की policy तय करें
- Tag/date/author archives site जरूरत के अनुसार set करें
- robots.txt में critical assets accidentally block न करें
4. Recommended best settings
नीचे दिए points general best practices हैं; theme, hosting और site intent के अनुसार adjust करें।
- Noindex और robots.txt disallow का difference समझें
- Important pages को sitemap में रखें और indexable रखें
- Cart/checkout/account को search index की जरूरत नहीं
- Staging पर authentication/noindex दोनों consider करें
- Change के बाद Search Console URL Inspection करें
5. Site type के अनुसार adjustments
Blog, business और store में priorities अलग होती हैं।
- Blog: categories useful हों तो index; thin tags अक्सर review करें
- Business: service/contact/location pages indexable रखें
- WooCommerce: products/categories indexable, cart/checkout/account noindex
6. Save करने के बाद cache और output test
Setting save होने के बाद plugin cache, page cache और CDN cache पुरानी output serve कर सकते हैं। Controlled purge के बाद fresh/incognito test करें।
- Plugin/page cache clear करें
- CDN/Cloudflare purge केवल जरूरत पर करें
- Incognito window से test करें
- View source/validator से actual output देखें
7. Verification — setup successful है या नहीं?
Success notice के साथ real output verify करना जरूरी है।
- View source में robots meta check करें
- robots.txt URL खोलें
- Search Console URL Inspection से allowed/indexing state देखें
- Sitemap URLs और noindex policy cross-check करें
8. Common mistakes और उनसे बचाव
इन mistakes से duplicate, wrong या conflicting SEO signals बन सकते हैं।
- Entire site पर accidental noindex
- robots.txt से blocked page पर noindex rely करना
- Important CSS/JS resources block करना
- Sitemap में noindex URLs रखना
- Archive types blindly disable करना
9. Problem आए तो troubleshooting order
एक साथ कई settings बदलने के बजाय last change rollback करके isolate करें।
- Page index नहीं हो रहा तो robots, canonical, status code और content quality check करें
- Blocked by robots.txt warning पर matching rule inspect करें
- Noindex हटाने के बाद recrawl/request indexing करें
- Plugin conflict में duplicate robots meta search करें
10. Maintenance और monitoring routine
SEO settings one-time task नहीं हैं। Theme/plugin updates, migration और site restructuring के बाद spot checks करें।
- Monthly important URL spot-check
- Major update के बाद source compare
- Search Console warnings monitor
- New content type/product type आने पर defaults review
11. Final setup checklist
Robots / Indexing Controls setup complete तभी मानें जब expected output frontend पर सही हो, conflicting duplicate output न हो और important URLs test pass करें।
- Setting saved
- Output verified
- Cache refreshed
- No duplicate/conflict
- Important URLs tested
- Backup/rollback available
Frequently Asked Questions
Frontend technical output तुरंत बदल सकता है, लेकिन search engine recrawl/reprocessing में समय लग सकता है।
Default safe starting point हो सकती हैं, लेकिन site type और existing setup के अनुसार review जरूरी है।
Recent change rollback करें, caches clear करें और duplicate theme/plugin/server output check करें।
Leave a Reply