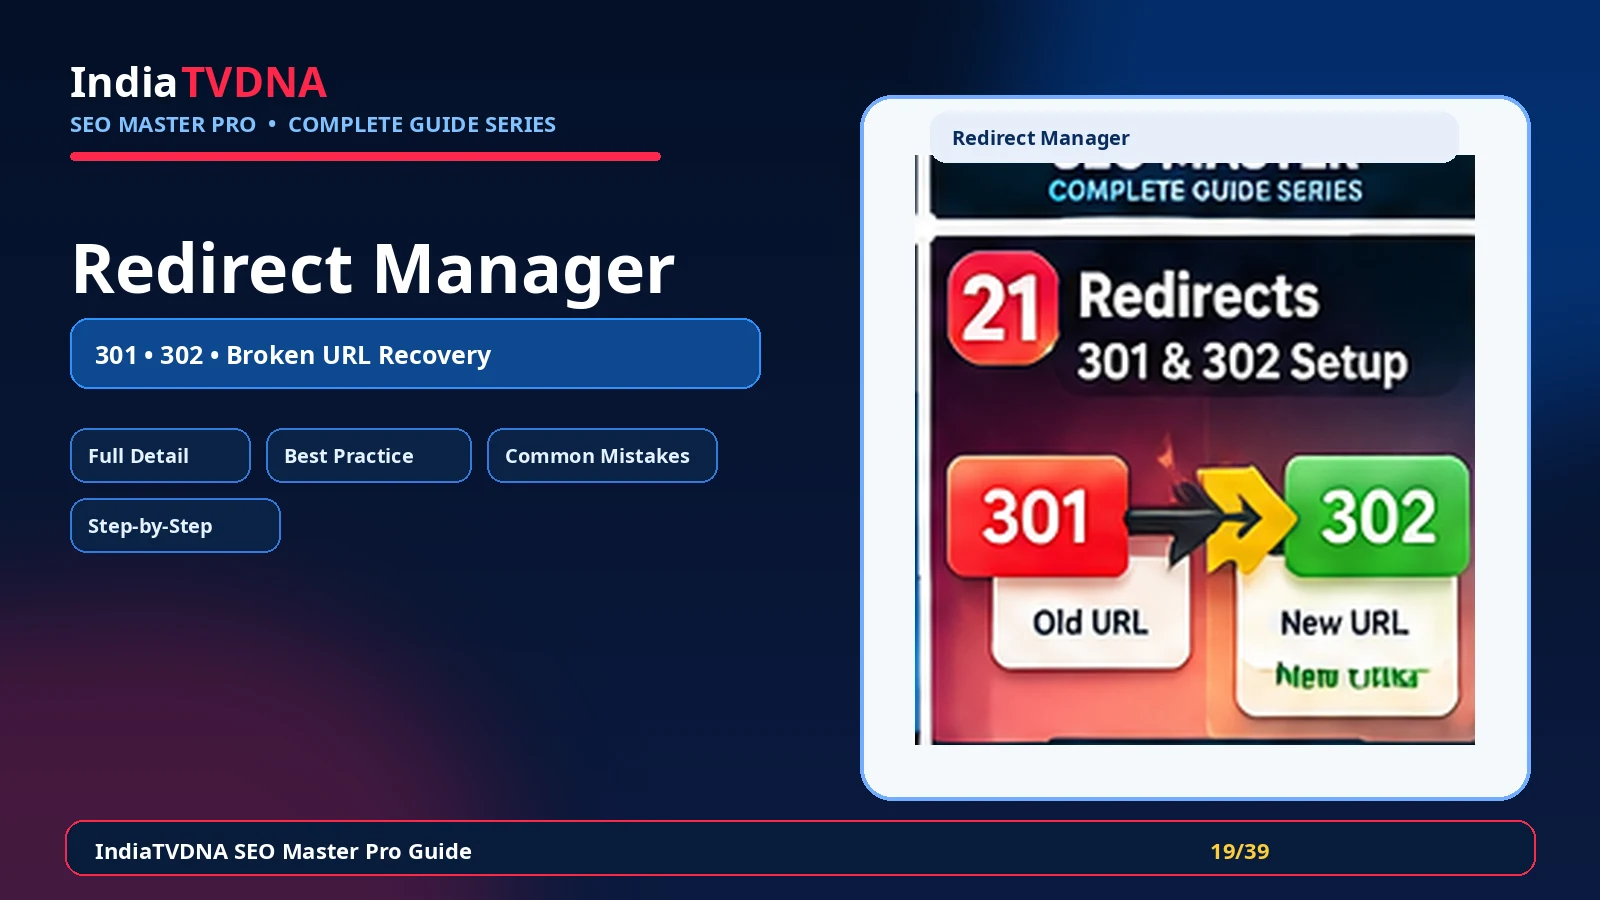
Redirect Manager की complete Hindi guide: यह क्या करता है, क्यों जरूरी है, मुख्य settings, फायदे, common mistakes, verification और practical SEO use cases।
Redirect Manager पुराने या बदले हुए URL से visitor और crawler को नए destination पर भेजने का controlled तरीका देता है। Permanent change के लिए सामान्यतः 301 और temporary स्थिति के लिए 302/307 जैसे status codes use किए जाते हैं।
Slug change, deleted content, migration, category restructuring या product replacement के बाद old links 404 दे सकते हैं। Relevant redirect UX बचाता है और search signals को नई destination तक पहुँचाने में मदद कर सकता है।
1. Redirect Manager का असली काम क्या है?
Redirect Manager पुराने या बदले हुए URL से visitor और crawler को नए destination पर भेजने का controlled तरीका देता है। Permanent change के लिए सामान्यतः 301 और temporary स्थिति के लिए 302/307 जैसे status codes use किए जाते हैं।
- source URL
- destination URL
- 301 permanent redirect
- 302/307 temporary redirect
- regex/advanced rules where supported
- redirect logs/hit counters if available
2. यह SEO workflow में क्यों जरूरी है?
Slug change, deleted content, migration, category restructuring या product replacement के बाद old links 404 दे सकते हैं। Relevant redirect UX बचाता है और search signals को नई destination तक पहुँचाने में मदद कर सकता है।
- Broken links recover
- Migration smoother
- Users सही destination पर जाते हैं
- Old backlinks का value relevant page तक पहुँच सकता है
- 404 volume कम
3. इसके मुख्य controls/components समझें
Module को enable करने से पहले यह समझना जरूरी है कि कौन-सा control frontend output, crawl/indexing या reporting को बदलता है। हर option को site type और existing theme/plugins के context में evaluate करें।
- source URL
- destination URL
- 301 permanent redirect
- 302/307 temporary redirect
- regex/advanced rules where supported
- redirect logs/hit counters if available
4. Practical benefits कहाँ मिलते हैं?
सही configuration का फायदा केवल dashboard score में नहीं, बल्कि cleaner technical output, predictable search/social behavior और maintenance workflow में दिखता है।
- Broken links recover
- Migration smoother
- Users सही destination पर जाते हैं
- Old backlinks का value relevant page तक पहुँच सकता है
- 404 volume कम
5. Blog, Business और WooCommerce में इसका use
एक ही setting हर site पर समान नहीं होती। Content model, user journey और ecommerce/dynamic pages के आधार पर strategy बदलती है।
- Blog: changed slugs/category structure
- Business: old service/location URLs
- WooCommerce: discontinued products को relevant replacement/category पर redirect
6. Recommended setup approach
पहले safe defaults रखें, फिर important URLs पर output verify करें और उसके बाद advanced options enable करें।
- Old URL inventory बनाएं
- हर source के लिए सबसे relevant destination चुनें
- Permanent move पर 301 लगाएँ
- Temporary campaign/testing पर temporary redirect use करें
- Rule save करके status code test करें
7. Best-practice settings
Best setting वह है जो clean output दे और existing theme/server/plugin stack से conflict न करे।
- Redirect old page को contextually closest replacement पर करें
- Redirect chains 1 hop तक रखें
- Loop prevention test करें
- Bulk rules backup/export करें
- Homepage पर mass redirect avoid करें जब relevant alternative हो
8. Common mistakes जिन्हें avoid करें
इस feature में गलत configuration SEO problem पैदा कर सकती है, इसलिए नीचे के patterns avoid करें।
- 404 सब homepage पर भेज देना
- A→B→C chains बनाना
- Source और destination same करके loop बनाना
- Temporary change पर permanent 301 blindly use करना
- Query parameters/regex rules बिना testing apply करना
9. कैसे verify करें कि feature सही काम कर रहा है?
Dashboard success message पर्याप्त नहीं है। Frontend/source और external verification जहाँ applicable हो, जरूर करें।
- curl/browser devtools से status code देखें
- Final URL 200 OK verify करें
- Search Console crawl errors trend देखें
- Internal links को direct final URL पर update करें
10. Troubleshooting checklist
अगर expected output नहीं मिलता, पहले cache clear करें और फिर duplicate plugin/theme/server output की जाँच करें।
- Too many redirects पर loop/chain inspect करें
- Rule work न करे तो caching/server rules/plugin precedence check करें
- Wrong destination पर matching order/regex check करें
- HTTPS/domain migration में server-level redirect conflicts देखें
11. Final recommendation
Redirect Manager को isolated feature की तरह नहीं, overall technical SEO workflow के हिस्से की तरह use करें। Changes document करें, important URLs test करें और search engine decisions को time दें।
- Backup/rollback path रखें
- एक समय में controlled changes करें
- Frontend output verify करें
- Search Console/analytics trends monitor करें
Frequently Asked Questions
Site type और requirement पर निर्भर करता है। Feature useful हो सकता है, लेकिन blind enable के बजाय output और use case verify करें।
नहीं। Technical setting ranking guarantee नहीं करती। Content quality, relevance, links, crawl/indexing और competition भी important हैं।
Cache purge करें, important URLs/source verify करें और जहाँ relevant हो Search Console/validator tools से check करें।
Leave a Reply