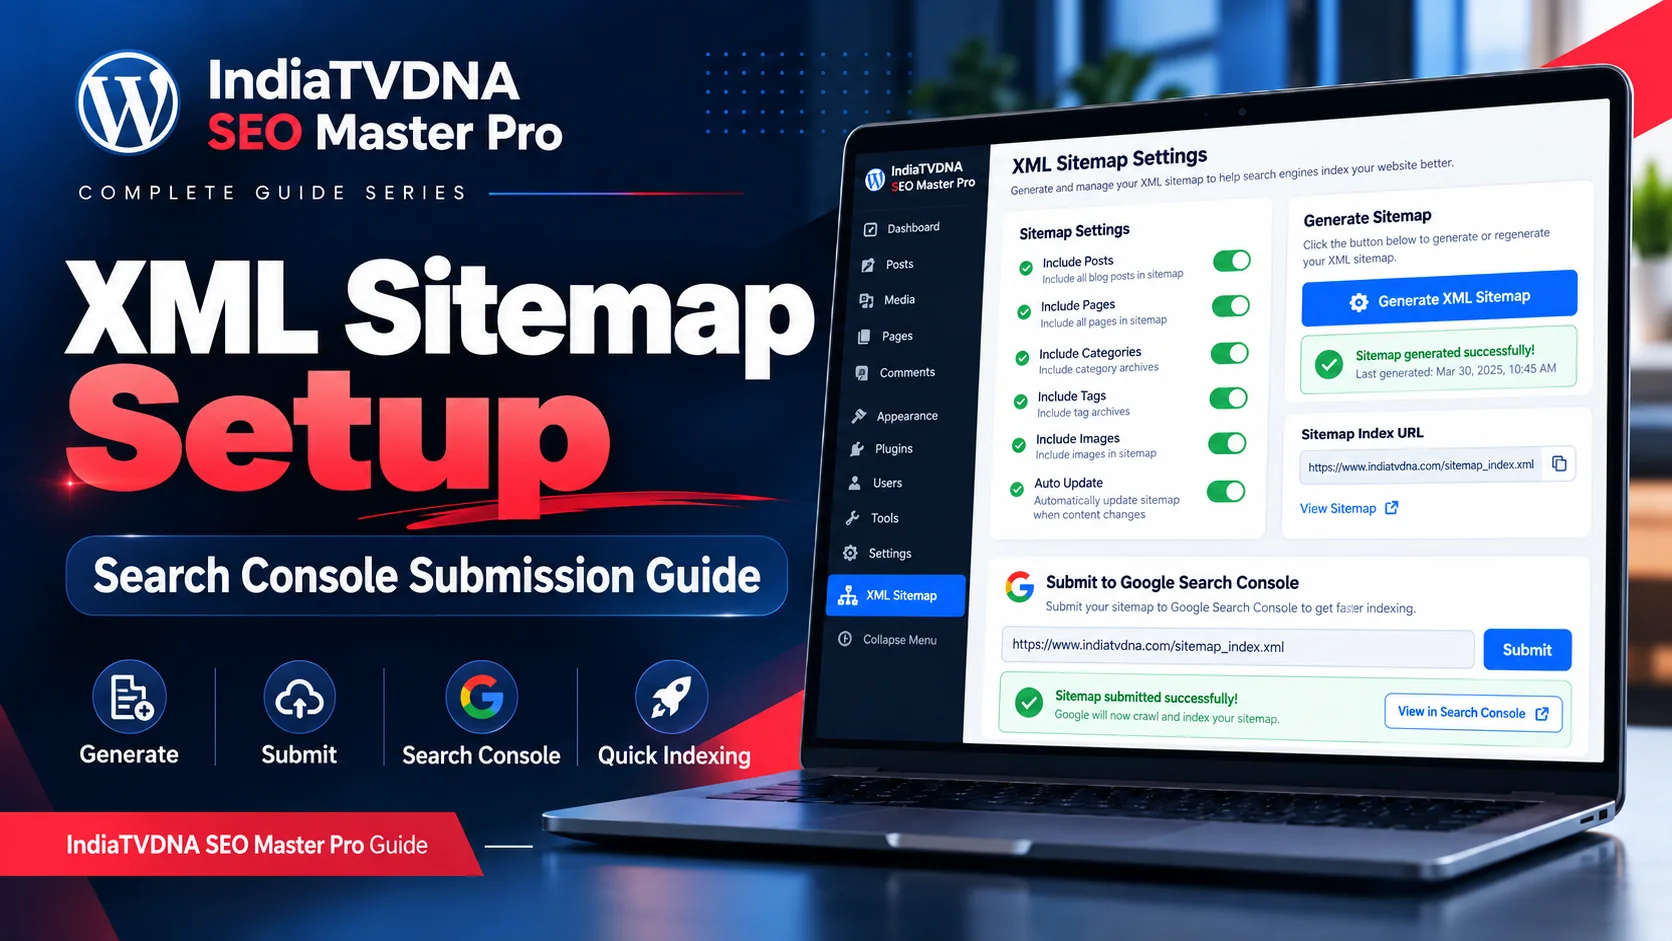
SEO Master Pro XML Sitemap को enable, configure, generate और Google Search Console में submit करने की detailed Hindi guide; 404, invalid XML, cache और large-site troubleshooting सहित।
अब sitemap concept समझने के बाद practical setup करते हैं। इस process में goal केवल file generate करना नहीं, बल्कि सही URLs include करना, XML accessible रखना और Search Console में valid submission verify करना है।
Production changes से पहले current sitemap URL note करें ताकि unexpected change compare किया जा सके।
1. Sitemap module खोलें
SEO Master Pro में XML Sitemap/Sitemap section खोलें। पहले current status, URL count, last generated/update और sitemap index URL जैसी information देखें। Feature disabled हो तो enable करने से पहले content types review करें।
- Current status।
- Index URL।
- Included post types।
- Last update।
2. Posts और Pages inclusion
Public informational posts/pages सामान्यतः include करें। Draft/private content sitemap में नहीं होना चाहिए। Landing pages intentionally noindex हों तो sitemap inclusion हटाएँ।
- Published canonical posts।
- Important pages।
- Noindex/private exclude।
3. Categories, Tags और custom taxonomies
Categories useful archive pages हों तो include करें। Thin tags या auto-generated taxonomies को सिर्फ इसलिए include न करें क्योंकि option available है। Search demand और content quality देखकर indexability decide करें।
- Curated categories include।
- Thin tags review।
- Empty archives exclude।
4. WooCommerce products setup
Products include करें और product categories भी अगर useful landing pages हैं। Cart/Checkout/My Account जैसे utility pages exclude रखें। Product filters/query URLs sitemap में नहीं होने चाहिए जब तक intentional canonical landing pages न हों।
- Products yes।
- Product categories selectively।
- Utility pages no।
- Facet URLs no by default।
5. Images और media options
Image entries support available हो तो featured/content images include कर सकते हैं। Attachment pages thin हों तो उनकी indexability अलग review करें। Image sitemap option और attachment-page indexing एक ही चीज नहीं हैं।
- Relevant images include।
- Attachment pages strategy अलग।
- Broken image URLs fix।
6. Generate / Regenerate करें
Settings save करने के बाद sitemap generate/regenerate करें। फिर index URL browser में खोलें। XML readable और HTTP 200 होना चाहिए। Child sitemap links भी open करें। Generated count expected से अलग हो तो filters/noindex/post status inspect करें।
- Index opens।
- Child sitemaps open।
- Expected URLs present।
- Deleted/redirect URLs absent।
7. robots.txt में sitemap declaration
robots.txt में Sitemap: directive crawler को sitemap location बताने में मदद कर सकती है। Plugin auto-add करे तो duplicate entries check करें। robots.txt declaration के बाद भी Search Console submission useful diagnostics देता है।
- One correct sitemap URL।
- HTTPS/canonical domain match।
- Robots block conflict नहीं।
8. Google Search Console में submit करें
Search Console में correct property खोलें → Sitemaps section → sitemap index path enter करें → Submit करें। Domain property और URL-prefix property mismatch न हो। Submitted status processing में time ले सकता है।
- Correct property।
- Correct sitemap index path।
- Success/processed status later verify।
9. Sitemap 404 या “Couldn’t fetch” fix
404 के common कारण rewrite/permalink cache, wrong URL, server rules या plugin conflict हो सकते हैं। WordPress Permalinks page में Save करके rewrites refresh करें, फिर plugin/cache/CDN purge करें। Search Console fetch error में public accessibility और property/domain भी check करें।
- Permalinks refresh।
- Plugin cache purge।
- CDN/Cloudflare purge।
- Endpoint/security conflict check।
10. Invalid XML / blank sitemap fix
XML से पहले PHP warning, whitespace या HTML output आने से sitemap invalid हो सकता है। Raw response देखें और PHP logs check करें। Security/cache plugin XML MIME/content modify कर रहे हों तो controlled conflict test करें।
- Raw response inspect।
- PHP warnings/log check।
- Conflict test।
- Output buffer/encoding issue review।
11. Large site optimization
बहुत बड़े sites में sitemap index को multiple child files में split करना बेहतर है। Single huge sitemap memory/timeouts दे सकता है। Batch/pagination defaults को बिना कारण बहुत बड़ा न करें।
- Child sitemap pagination।
- Reasonable URL batch size।
- Generation timeout monitor।
12. Final verification
Setup complete तभी मानें जब sitemap browser में valid हो, important URLs present हों, unwanted URLs absent हों और Search Console submission accepted हो। कुछ दिन बाद coverage/indexing reports में discovered URLs review करें।
- HTTP 200।
- Valid XML।
- Correct canonical host।
- Search Console accepted।
- Noindex/redirect conflicts absent।
Frequently Asked Questions
आमतौर पर plugin द्वारा दिखाया गया sitemap index URL submit करें। Exact path उसी screen से copy करें।
Sitemap public access, HTTP status, robots/server block, property/domain और cache/CDN check करें।
नहीं। Dynamic sitemap update होने पर same sitemap URL पर्याप्त है; search engine उसे दोबारा fetch करता है।
- IndiaTVDNA SEO Master Pro XML Sitemap क्या है और SEO में क्यों जरूरी है? Crawling, Discovery और Indexing Full Guide
- IndiaTVDNA SEO Master Pro Schema Markup क्या है? Structured Data, Rich Results और WooCommerce SEO की Complete Guide
- IndiaTVDNA SEO Master Pro Dashboard क्या है? SEO Score, Audit, Traffic और सभी मुख्य Controls की Full Guide
Leave a Reply