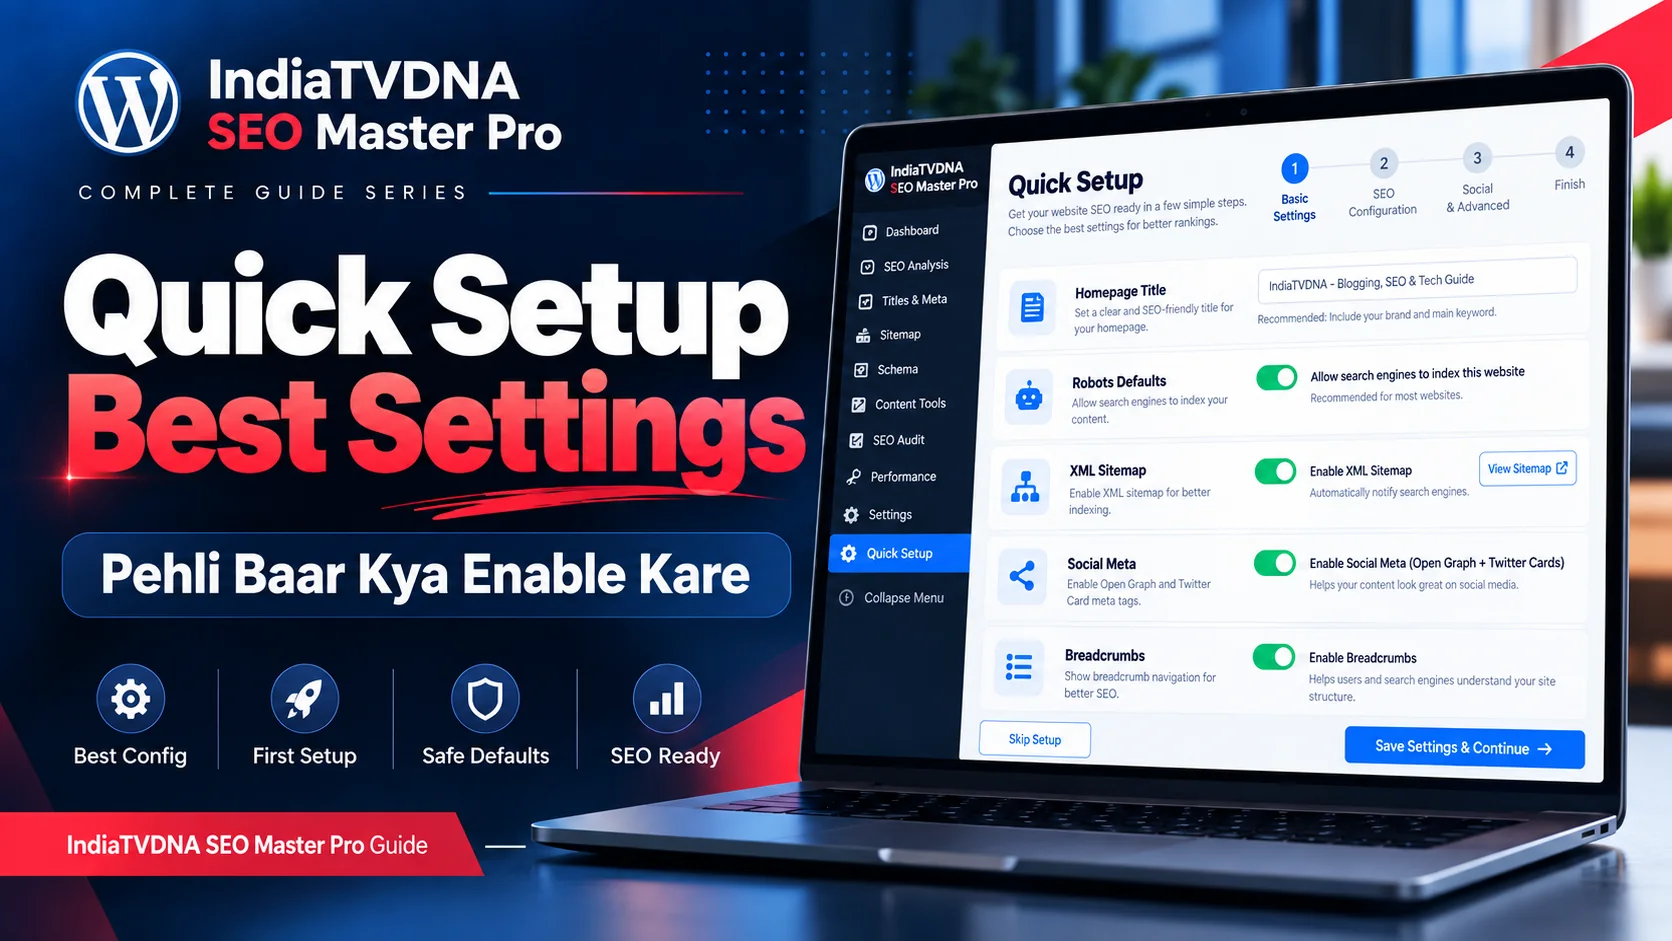
SEO Master Pro Quick Setup को step-by-step configure करने की full Hindi guide: site type, meta defaults, robots, sitemap, schema, social metadata, breadcrumbs और post-setup verification।
यह practical guide उस समय use करें जब SEO Master Pro पहली बार configure कर रहे हों या clean baseline बनाना हो। Goal aggressive optimization नहीं, safe और verifiable setup है।
हर step के बाद Save करें और final setup के बाद cache clear करके public pages test करें।
1. Pre-flight: setup शुरू करने से पहले
पहले site का purpose तय करें: Blog, Business, Store, News या Mixed. इसके बाद check करें कि कोई दूसरा SEO plugin frontend title/meta/schema/sitemap output तो नहीं दे रहा। Duplicate output troubleshooting का बड़ा कारण है। Production site पर backup और current settings का snapshot रखें।
- Site type लिख लें।
- Primary domain/HTTPS confirm करें।
- Other SEO plugin status check करें।
- Backup लें।
2. Step 1 — Site Type चुनें
Available profile में अपनी site के सबसे करीब option चुनें। Mixed site हो तो primary business model चुनें और बाद में modules manually adjust करें। Store profile में WooCommerce-related settings relevant हो सकती हैं; blog profile में content discovery और article defaults ज्यादा important होते हैं।
- Blog → informational content focus।
- Business → services + organization identity।
- WooCommerce → products + categories + merchant data।
3. Step 2 — Homepage Title और Meta baseline
Homepage title में brand और primary purpose साफ रखें। Keyword stuffing से बचें। Meta description user को site का value proposition समझाए। Static homepage हो तो global template के बजाय उस page पर custom title/description बेहतर हो सकता है।
- Brand readable रखें।
- Primary topic naturally शामिल करें।
- Description unique रखें।
- Preview में readability check करें।
4. Step 3 — Robots / Indexing defaults
Important public posts/pages/products सामान्यतः indexable होने चाहिए। Internal search results, utility pages या thin archive types को site strategy के अनुसार noindex किया जा सकता है। Production पर global noindex accidentally enable न हो।
- Homepage index।
- Main pages/posts index।
- Search results often noindex।
- Author/date/tag archives site structure के हिसाब से तय करें।
5. Step 4 — XML Sitemap enable करें
Sitemap में वही content types रखें जिन्हें search engine discover/index करना meaningful है। Private, utility या intentionally noindex content को sitemap में डालना contradictory signal दे सकता है। WooCommerce store में products और useful product categories include करें।
- Posts/Pages include।
- Products if store।
- Categories/taxonomies selectively।
- Images support available हो तो enable।
6. Step 5 — Schema baseline
Blog posts के लिए Article/BlogPosting, products के लिए Product, site identity के लिए Organization/Website जैसे schema relevant हो सकते हैं। हर page पर सब schema enable करना गलत है। Schema fields real page data से match करें।
- Blog → Article/BlogPosting।
- Store → Product।
- Business → Organization/LocalBusiness where appropriate।
- Breadcrumb → site navigation हो तो।
7. Step 6 — Social Meta और Open Graph
Open Graph/social metadata shared links का title, description और image control करने में मदद करता है। Default social image set करें, लेकिन important posts/products पर custom image बेहतर हो सकती है।
- Default social image high quality।
- Per-post override support use करें।
- Old cached social preview पर platform debugger useful हो सकता है।
8. Step 7 — Breadcrumbs
Breadcrumbs users और search engines को hierarchy समझने में मदद कर सकते हैं। Theme पहले से breadcrumbs output करता हो तो plugin breadcrumbs duplicate न करें। WooCommerce category/product hierarchy में breadcrumbs useful हो सकते हैं।
- Theme/plugin duplicate check।
- Readable hierarchy रखें।
- Breadcrumb schema duplicate न हो।
9. Site-type recommended baseline
Blog में posts indexable, useful categories, Article schema और clear internal linking रखें। Business site में services, organization identity और contact consistency पर focus करें। Store में products/categories, Product schema और merchant identifiers verify करें।
| Site Type | Recommended Focus | Special Check |
|---|---|---|
| Blog | Posts, categories, Article schema, internal links | Thin tags/author archives review |
| Business | Homepage, services, Organization/LocalBusiness | NAP/contact data consistency |
| WooCommerce | Products, categories, Product schema | Cart/Checkout/My Account indexing + real price/stock |
10. Final verification और rollback
Finish Setup के बाद homepage, एक post/page और store हो तो एक product का rendered output check करें। Sitemap और robots open करें। Unexpected change हो तो recent setting rollback/restore करें।
- View source title/meta/canonical।
- Sitemap 200।
- Schema validate।
- Search Console sitemap submit/verify।
- Cache/CDN purge।
Frequently Asked Questions
Primary business model चुनें, फिर blog-related settings manually adjust करें।
नहीं। Useful curated tag archives index हो सकते हैं; thin/duplicate archives को noindex करना बेहतर हो सकता है।
Baseline automation मदद करता है, लेकिन content, metadata, links और performance की ongoing review जरूरी है।
- IndiaTVDNA SEO Master Pro Quick Setup क्या करता है? Auto Best Setup, Safe Defaults और Beginners के लिए Full Guide
- IndiaTVDNA SEO Master Pro Titles & Meta Best Settings: Homepage, Posts, Pages, Products और Archives Setup Guide
- IndiaTVDNA SEO Master Pro XML Sitemap Setup कैसे करें? Google Search Console Submission और Error Fix Step-by-Step
Leave a Reply